To have a professional-looking home paint project, you should follow a set of rules for fruitful outcomes. DIY home paint projects aren’t a difficult matter once you get your hands on the tips and tricks needed to get the job done just like a pro.
Here we give you 8 tips and tricks to painting your wall like a pro.
1- Avoid humid days
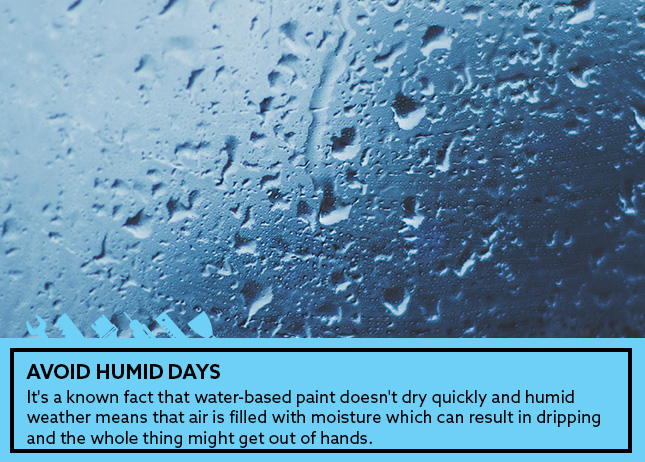
High humidity can affect your DIY home paint projects in ways you can’t even imagine. It’s a known fact that water-based paint doesn’t dry quickly and humid weather means that air is filled with moisture which can result in dripping and the whole thing might get out of hands. And sometimes when the paint dries, humidity can create bubbles. So, unless you know how to deal with humidity, it is preferable to avoid such days if you wish to do the home paint project yourself.
2- Inspect all walls
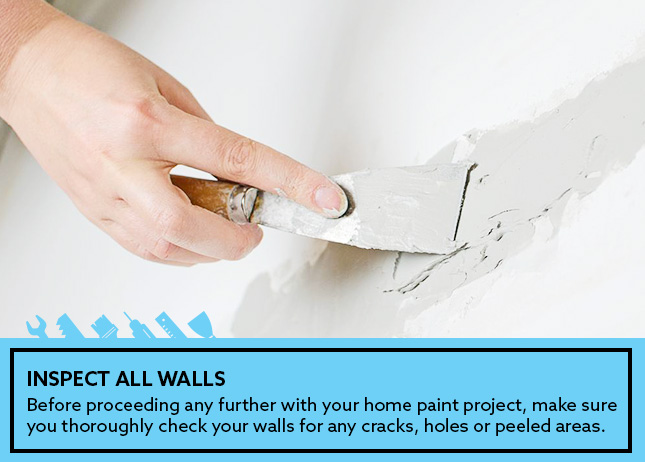
Before proceeding any further with your home paint project, make sure you thoroughly check your walls for any cracks, holes or peeled areas. If you find any, then your wall should be lightly sanded or scraped. Some walls just need to be washed or rinsed to get rid of any greasy spots that might affect your paint project.
3- Buy the best paint supplies and tools

If you are going to do it yourself, then do like a pro. From high-quality brushes to tape, an ideal paint job always starts with top-notch materials. Instead of buying cheap paint supplies that could mess up your entire work, invest in good ones for a perfect outcome. It is important here to know how to use each and every tool before starting to guarantee a smooth process.
4- Protect your valuables
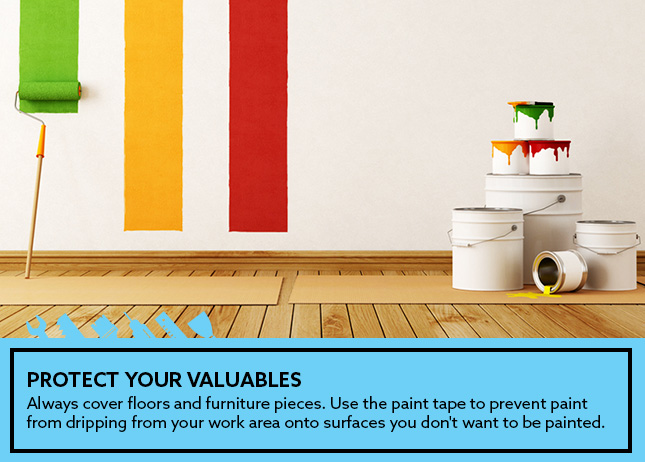
Paint projects are messy no matter how much you know what you are doing, they always end up ruining a piece of furniture for instance. Hence, always cover floors and furniture pieces. Use the paint tape to prevent paint from dripping from your work area onto surfaces you don’t want to be painted.
5- Remove switch plates and outlet covers

Never ignore this step if you want to have a clean and smooth surface. Also, you ought to know that if you keep switch plates and outlet covers and paint over them, they will probably stick to your wall and you will end up messing up your wall’s overall look if you ever wanted to replace your switches.
6- Primer before paint

When painting over an old color, professionals always advice to resort to primers. Instead of applying two coats of new paints to hide the old paint color, a primer will make use only one coat of paint and it will stick and hide the old paint much better than two coats of new paint would. Primers are also useful as they prevent the absorption of subsequent layers of paint and the development of rust.
7- Have enough paint
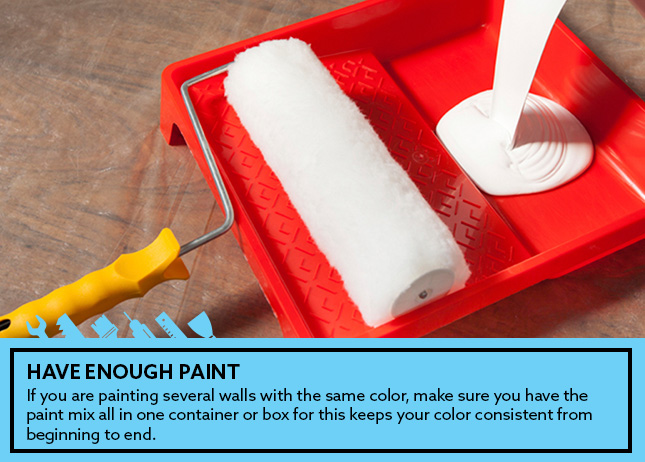
When purchasing paint, make sure you have enough to do the job. If you are painting several walls with the same color, make sure you have the paint mix all in one container or box for this keeps your color consistent from beginning to end. Have a realistic estimate of how much paint you will need and buy it all at once.
8- Work one wall at a time
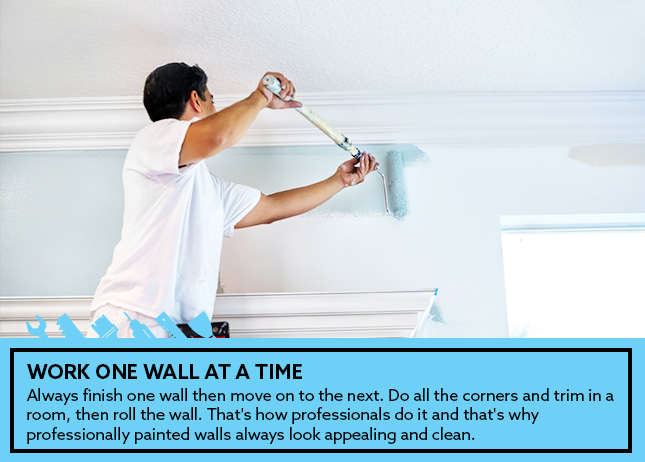
Always finish one wall then move on to the next. Do all the corners and trim in a room, then roll the wall. That’s how professionals do it and that’s why professionally painted walls always look appealing and clean.

